How to Add Frequent Buyer Purchases | Checkout | Astro Retailers
How to Checkout a Customer in Astro:
1. Select Check Out at the top of your screen, or click on the Check Out button on the home page.
2. Lookup the Customer. Type in the first name, last name, phone number, or email address. Once you see the customer you are looking up, click the Select button next to their info.
3. Add their Purchases into Astro. There are several way to enter in the product.
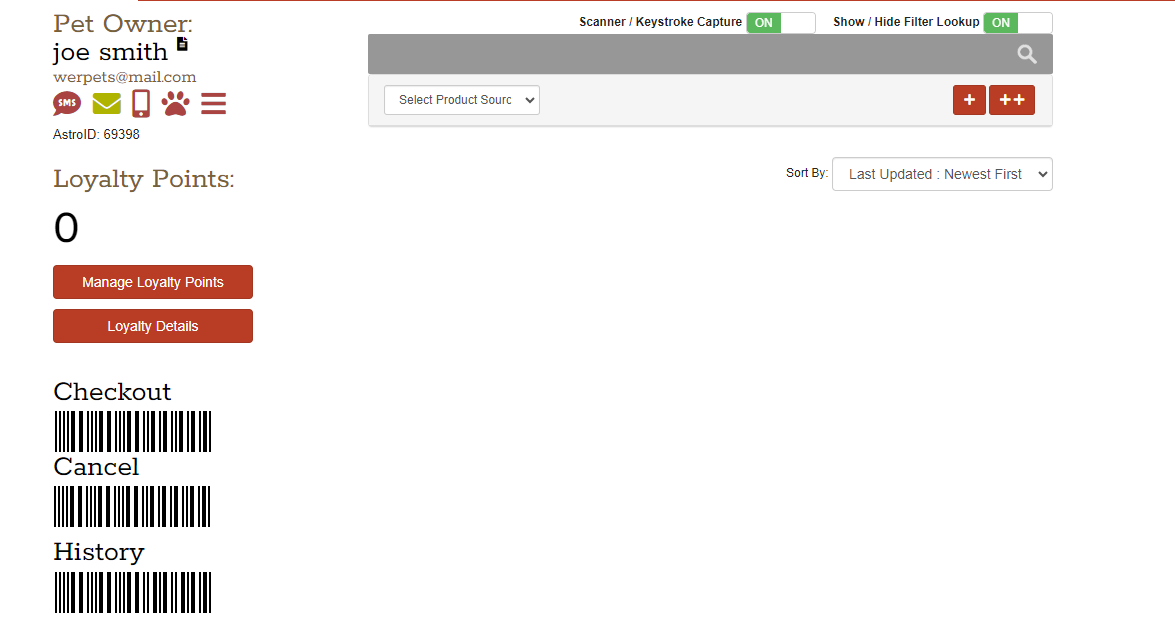
Methods of Entering Purchases:
Scan UPC or Type in UPC:
When you are on the Check Out screen, you can start scanning. You do not have to click any buttons. Astro will create the cards for you automatically, populating as you scan more items into the system.
In the grey bar, you can start typing the UPC barcode digits. Typically you only need the last 4-5 digts to locate the item.
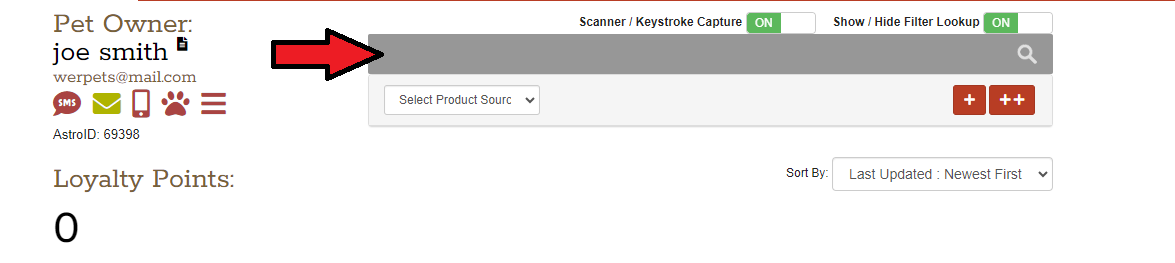
Copy/Paste Items:
By clicking the Scanner/Keystroke toggle switch above your search bar to Off (the search bar will turn from grey to white), you will be able to use your keyboard to copy a UPC out of another document and paste that UPC onto the search bar. You will need to hit enter on your keyboard or click Search to add the item. Make sure the UPC you entered contains 12 digits.
Use Drop Down Menus:
There is a drop-down menu where you can select a manufacturer. This list will only show the manufacturers who have programs you are currently enrolled in.
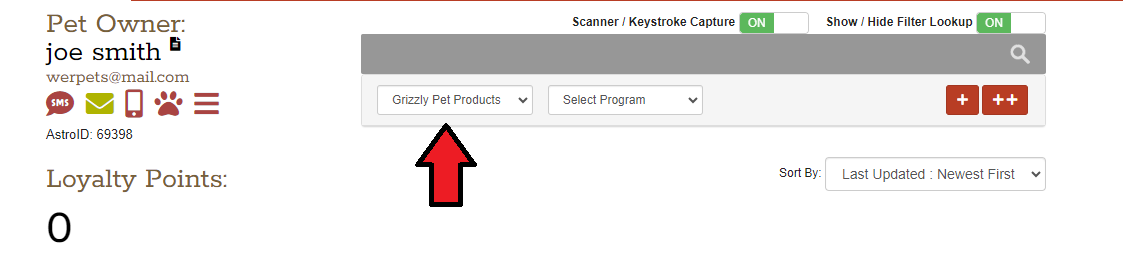
After you choose a manufacturer, another drop-down menu will appear to the right, where you can select either the Program or the specific program card.
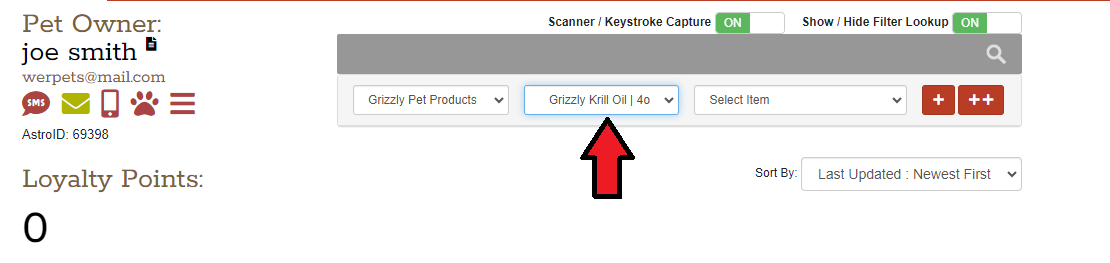
After you choose a program, a third drop-down menu will appear that will give you a list of all items based on the option you choose from the second drop down menu.
After you choose a manufacturer, another drop-down menu will appear to the right, where you can select either the Program or the specific program card.
After you choose a program, a third drop-down menu will appear that will give you a list of all items based on the option you choose from the second drop down menu.

You can turn this feature off if you choose by clicking the toggle switch above the search bar that says Show/Hide Filter Lookup.
If you do not see the item you are looking for under the Subprogram you selected, try going back and selecting the Master Program from the middle drop-down menu. If you still do not see the item you are looking for, type or scan the item UPC into the search bar, and you will be prompted to add an exception.
If you do not see the item you are looking for under the Subprogram you selected, try going back and selecting the Master Program from the middle drop-down menu. If you still do not see the item you are looking for, type or scan the item UPC into the search bar, and you will be prompted to add an exception.
4. Once you have added the purchases, it will appear under Today's Purchases and as a checkmark on a digital card. After all items have been entered into Astro, click Checkout, located at the left of your screen under the customer's name and info.
 If you need to add a note to a card, you can click on the Edit Card Notes button attached to the card. Clicking on the Expand Card Details button will reveal all prior purchases and the dates they were purchased on. (Do not worry about adjusting the dates when adding old transactions off a paper card.) Any redeemed cards and all current cards will be visible under "History," located to the left of the screen under Checkout and Cancel.
If you add more than one item to a frequent buyer card, you will trigger the Multi-Item pop-up. This pop-up lets you quickly select the reason for adding multiple items during one transaction from a drop-down menu. This reason is communicated to your distributor and manufacturer, thus ensuring your credits are processed properly.
5, Once you are confident that everything has been entered properly, click Finished to the left of your screen. This will finalize and lock in the transaction and return you to the Lookup Customer screen so you can move on to the next customer or card.
If you clicked Finished too soon, just as you realized you made a mistake, or maybe your customer changed their mind about a purchase, don't worry! You can still edit the transaction. Look up the customer's name again, and you will be returned to their checkout screen. If you need to remove a purchase, click the Remove button next to the item's name under Today's Purchases or click the Green Check corresponding to that purchase. Click Finished again to finalize the changes that you made.
Add Purchase By Clicking Punch Card:
If your customer already has a frequent buyer card started, you can also click on the next available empty punch slot to add items.
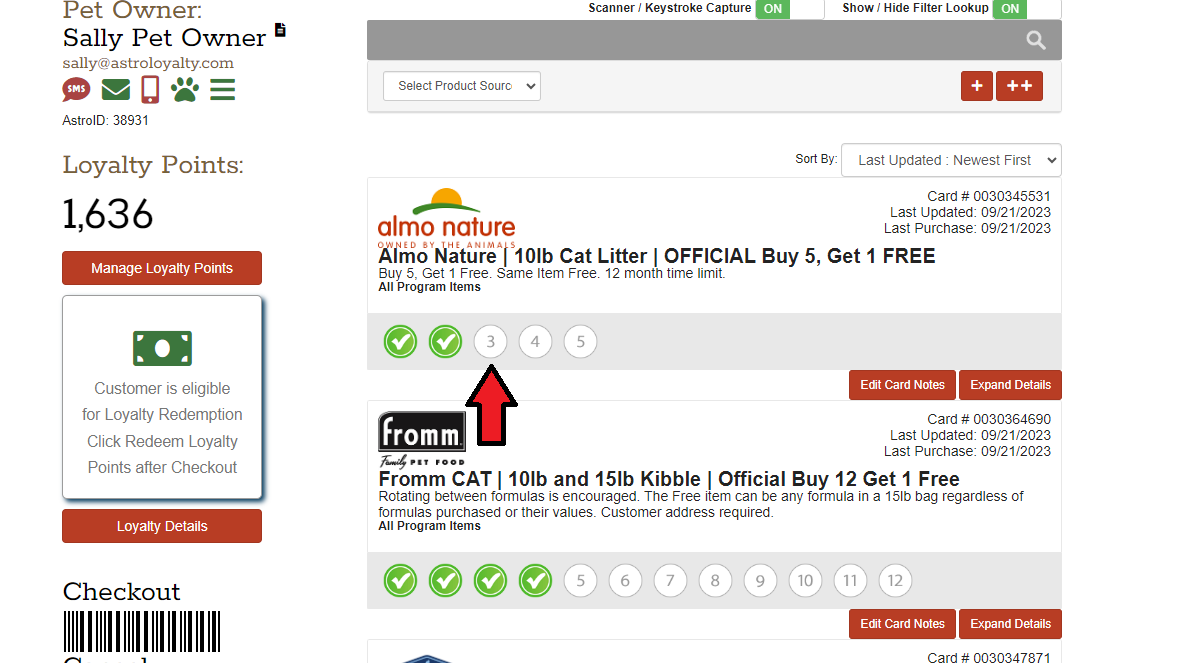
The pop-up will default to the last item purchased unless you choose a different item from the drop-down menu.
Helpful Addon Feature: Customer Notes
Currently, you have the capability to add a note to a customer's frequent buyer card during checkout. This is helpful if you want to remind yourself about something pertaining to that particular frequent buyer card. Such as the original purchase dates of a paper card conversion, "returned last purchase," or "dog didn't like the chicken formula but loves the fish," etc). These notes stay with the frequent buyer card, and once the card is redeemed, they will no longer show up under Checkout.
But what if you want to record a note that will stay with the customer's Pet Owner account indefinitely? If this interests you email us at support@astroloyalty.com and we can turn this feature on for you. Then you will be able to see a little notepad icon next to your customer's name under Checkout. If the notepad is black it means there is no note saved. Click on it to add a note, then save. If a note is recorded on the notepad it will turn from black to red. To view the note simply hover your mouse over the notepad and a text bubble will appear. To edit the note just click on the notepad to bring up the text box.
Related Articles
Add a New Customer | Astro Retailers
How to Create a Pet Owner Account for a New Customer: The video above shows how to add a new customer prior to the launch of the Astro Marketing Suite. The main difference between what you see in the video and how it works now is where the Add ...How to Convert to Astro from Paper or Digital Frequent Buyer Programs
How to Convert your Paper Frequent Buyer Cards to Digital Frequent Buyer Cards in Astro There are several ways that you can convert your current customers' Frequent Buyer progress to Astro. Manual Method for Paper Card Conversions If you have been ...How to Setup Points? | Standard | Astro Points
How to Redeem a Frequent Buyer Card | Checkout | Astro Retailers
Frequent Buyer FAQs | Astro Retailers
How do I enroll in Frequent Buyer Programs? In order to start ringing up your customer's purchases in Astro, you'll need to enroll in the Frequent Buyer programs. As an Admin user, at the top of your account is a Frequent Buyer button. Select ...